How to create text styles in Figma
Apr 16, 2024

Text styles can be defined and reused across files and projects to maintain consistency in your designs. You can also utilize text styles to establish a typographic scale for your designs.
Let's say you have ten text layers with identical properties in different areas of your design, and you want to increase their font size or change the font. Going through each text layer and making the necessary changes is inefficient. You could make the changes in one text layer and copy the style to the rest of the layers, but that, too, is inefficient.
With text styles, you can simultaneously update all the layers using a specific style from one place. This method saves you time and makes your work more efficient.
Now, let's see how to create text styles:
1. Select the text tool by pressing T on your keyboard.
2. Click on the canvas to create a new text layer
3. Type something, for example, "heading," and click on the canvas again.
4. After setting the properties, click on the styles icon.
5. Click on the Create Style icon.
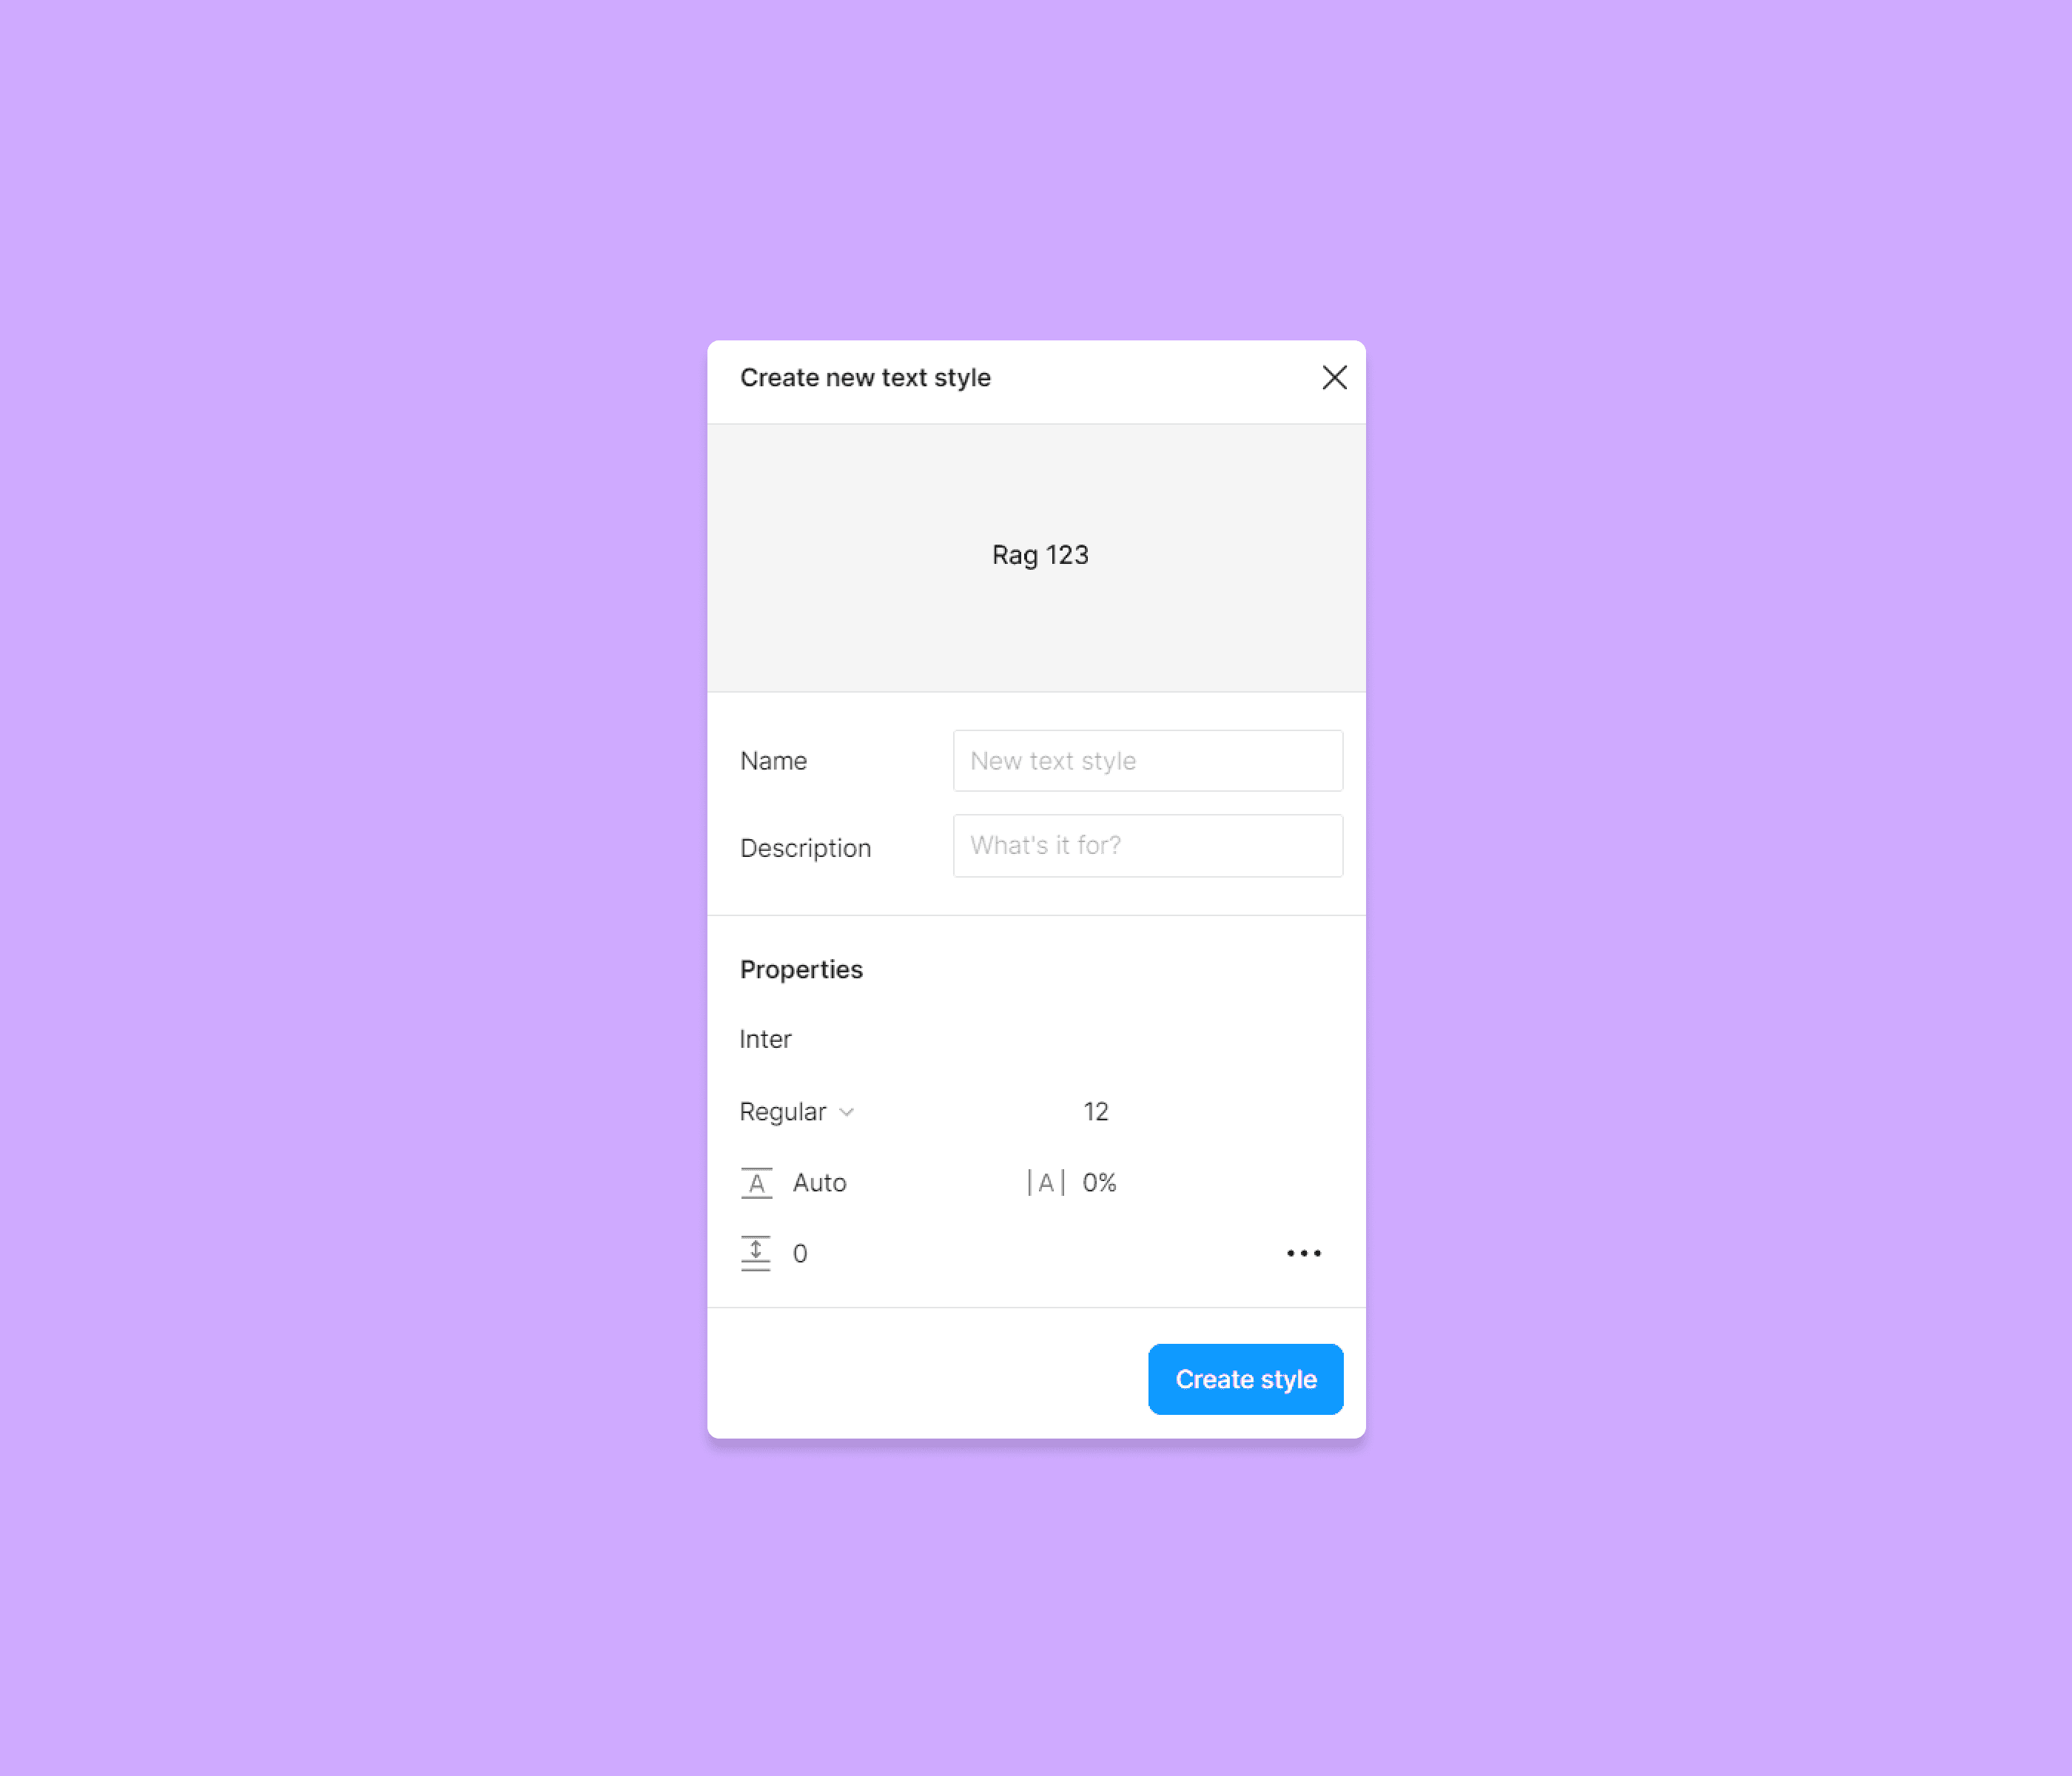
6. In the create new style modal, type a name for the style in the name field, for example, "heading."
7. Click on the Create Style button to save the style.
You'll see the style you created in the right sidebar when no layer is selected. If you want to be more organized, you can place the style inside a category. This is how:
1. From the right sidebar, click on the edit style icon.
2. Change the name in the field to - category/heading.
Now, look at the right sidebar. You've just created a category and the style inside it. If you want to create a subcategory, change the style's name to category/subcategory/heading.
That's it for today. I hope you like this one. See you in the next post!

